
SSK 9101 Stab Pivot Fittings
Learjet 35 vertical to horizontal stabilizer modification. Installation of SSK 9101 – Stab Hinge Fitting & replacement.

KKS 1
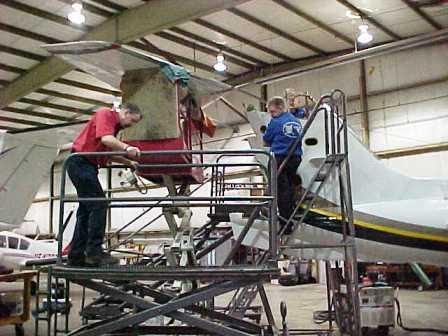
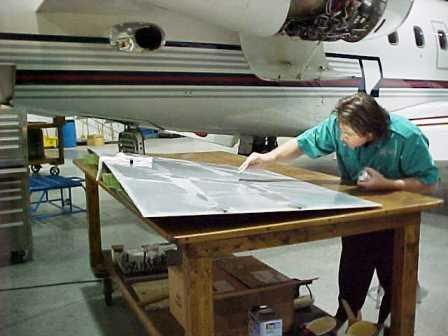
John Yegerlehner and Don Elliott prepare the horizontal stab for removal at the start of SSK 9101.
KKS 2
The horizontal stab is removed from the aircraft and lowered to the ground (on the lift).
KKS 3
With the horizontal stab out of the way, the top plate is removed. Above, Jim Major removes hiloks.
KKS 4
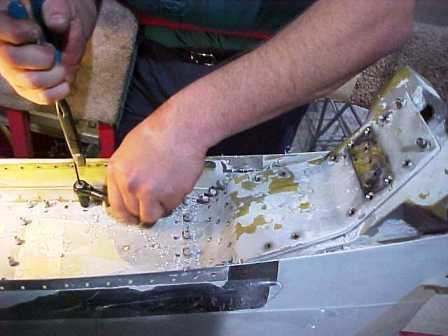
With the top plate removed, a shot showing the large hilok pins coming in from the side. These were exceedingly hard to remove! (we used a 24″ C-Clamp bought just for this purpose).

KKS 5
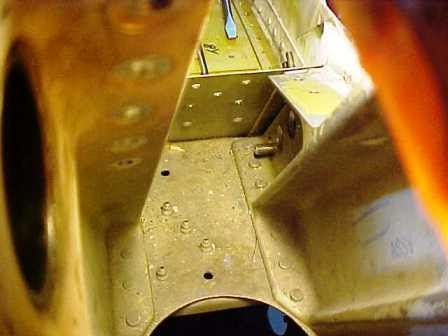
Jim Major holds the right side stab hinge fitting after removal.

KKS 6
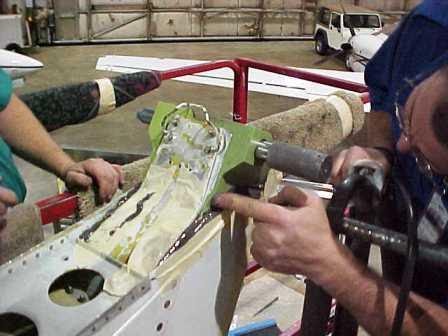
John Yegerlehner and Jim Major drill and fit the new stab pivot fittings one at a time.
KKS 8
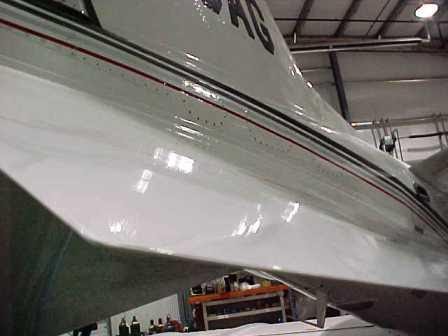
After reinstalling the top plate, the pivot fittings are sealed to the vertical stab. After this, the horizontal stab was reinstalled and the job completed.

KKS 7
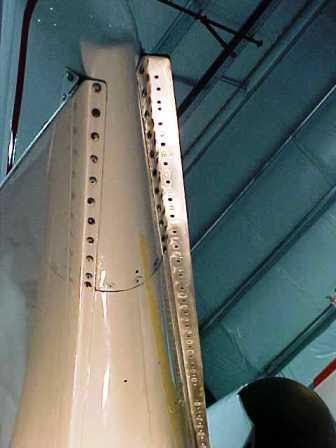
A special stab alignment pin is required to assure that the new fittings are properly aligned. Here holes are drilled for re-installation of the top plate.
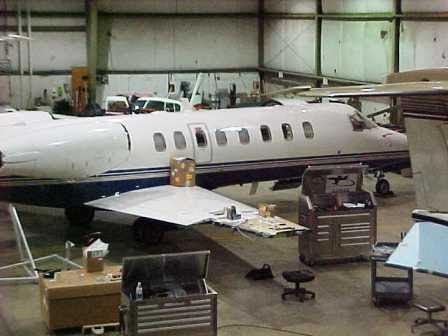
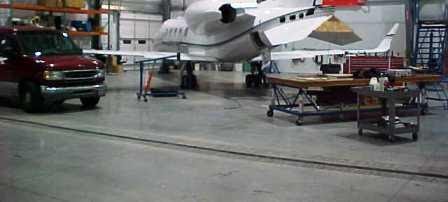
Shear Web Repair
Learjet SB 35/36-51-4 & Learjet SB 31-51-4
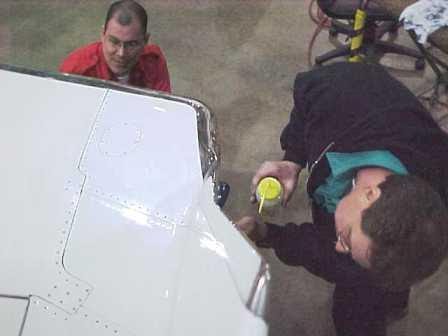
As can be seen in the pictures posted here, this repair is very time consuming and exacting. The margins for error are small and the degree of difficulty high. Spectra Jet purchased over $3500.00 in specialty tools just to complete these repairs.

Shear 1
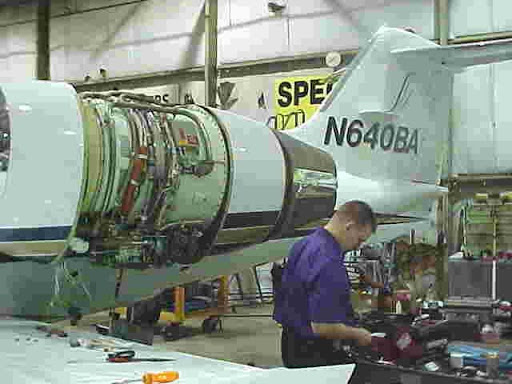
Mike Catherwood and Dave Riegel strip paint from the fuselage after removing the engine, engine mount and firewall assembly.

Shear 3
After removing the skin, the intercostal closeouts are peeled back and the intercostals are cut and removed to allow the installation of the new repair Plates.

Shear 2
Mike Catherwood works on removing the drag angles along with the upper and lower pylon skins.

Shear 4
After modification per the Service Bulletin instructions, the new Plates are installed, the intercostals are spliced and the closeouts reinstalled.

Shear 5
A sheet of plastic, drilled to match the stringer holes is installed to allow reapplication of the foam.
Shear 6
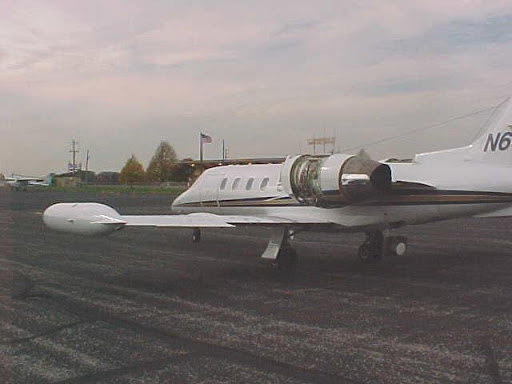
After paint, the engines are reinstalled, run and checked per the manual and the aircraft returned to service.
Shear 7
Upper Cabin Door
This aircraft’s upper cabin door opened in flight. After reviewing the case, it was determined the most likely cause was a failed door warning light bulb along with the copilot not latching the upper door, this almost caused the loss of the aircraft.
Spectra Jet was contacted to remove the upper door, after that, it was sent to the manufacturer for repair on the original jig. A 300/600 hr inspection was added when the door repair took longer than expected. Several weeks later, the door was adjusted to fit, painted and installed, good as new.

Cabin Door 1
The door cracked at the upper forward corner, aft upper corner and along the inner skin.

Cabin Door 2
John Yegerlehner cuts the sealant on the upper hinge.

Cabin Door 3
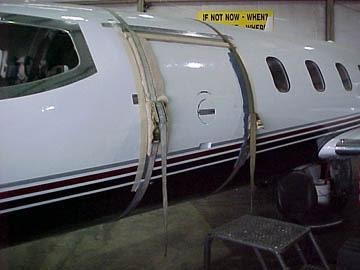
Here the door is prepared for removal, the paint is stripped to reveal the hi-lok fastener heads.

Cabin Door 4
Mike Catherwood poses with the door just after its removal.

Cabin Door 5
A custom box was built, again by Mike Catherwood, to protect the door during its shipment to Wichita.

Cabin Door 6
After the door was repaired, it was found that the new forward extruded edge was installed with a slight outward bend, the manufacturer’s representatives informed Spectra Jet that they would have to “beat the door to fit” just as it was new from the factory. We DON’T beat on an aircraft’s anything, so we gently bent the door using large clamps. Here, Mike Catherwood measures the amount of outward bend to be removed.
Cabin Door 7
Next the door was installed and clamped to assure it would open and close easily.

Cabin Door 8
Prior to stipes, the door looks great already!

Cabin Door 9
The finished door back on the aircraft and ready to depart for home. Note that there is no evidence of the damage after Spectra Jet’s repair.

Cabin Door 10
Ready to go.
Winglet Repair
LA minor mishap…This Lear 31 had another aircraft blown into it’s right winglet during a storm. Spectra Jet was called to repair the damage. It was determined that the winglet would have to be changed.
The aircraft was ferried to Springfield, Ohio and there the mechanics at Spectra Jet removed the damaged winglet and installed a factory replacement. A new coat of paint and the aircraft was ready to go
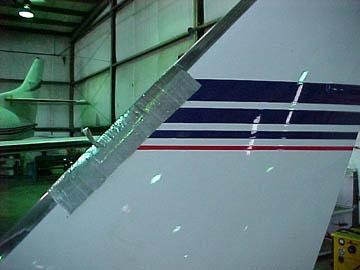
Winglet Repair 1
This outer winglet was damaged by another aircraft being blown into the leading edge. After a temp repair was installed involving structural adhesive and aluminum tape, the aircraft was ferried to Spectra Jet in Springfield, Ohio.

Winglet Repair 2
First the paint was stripped from the seam to expose the screws. Next, the existing holes were laid out to allow Spectra Jet’s experience mechanics to exactly match the replacement winglet to the aircraft.
Winglet Repair 4
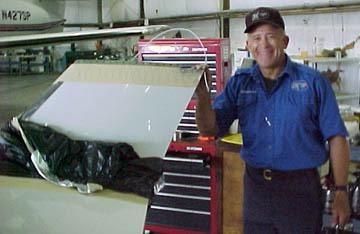
Mike Catherwood, General Manager for Spectra Jet poses next to the winglet. Mike, along with being GM oversees all sheetmetal projects. He has extensive experience in sheetmetal repairs, and modifications.

Winglet Repair 3
Here the winglet has been removed. The new winglet had to be trimmed to allow a perfect fit on the aircraft.
Winglet Repair 5
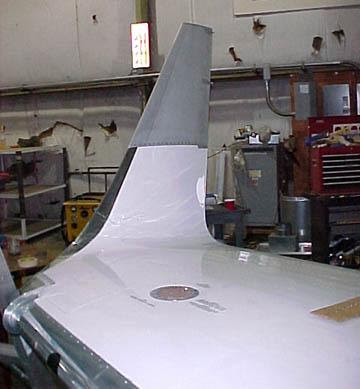
The new winglet is installed and ready for work to begin on the leading edge (polishing) and prep for paint.
Winglet Repair 6
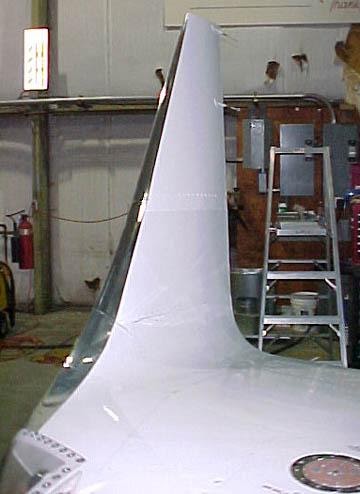
The finished product. After painting and installation of static wicks the aircraft is ready to go. (note: the customer requested a quick white paint job to get the aircraft in the air, no stripes were applied)
Tailfin Repair
This old Learjet 24 (SN 24-103) had a terrible repair performed on its lower tail fin sometime in the past. After inspecting the tail, removal of paint and fiberglass matting, we determined that the tail fin assembly had to be replaced. Another old Lear 24 which was being parted out was generous to donate its lower tail fin to the cause. After removal of the old fin, corrosion was found on the lower fuselage and was repaired with a flush patch.
Tailfin 1
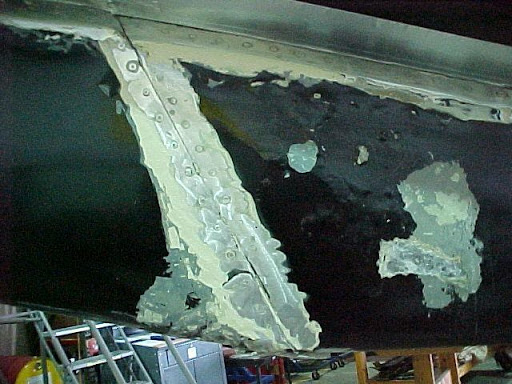
This lower tail fin was smashed, covered with fiberglass and paint.
Tailfin 2
This lower tail fin forward section was removed. Corrosion was found inside the fin and on the fuselage.

Tailfin 3
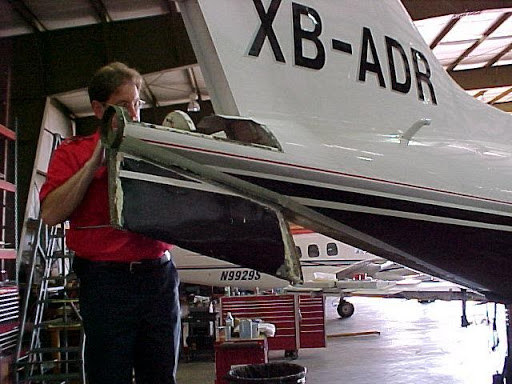
Larry Metcalf (forward) removes the aft tail fin section after corrosion was found on the fuselage. Mike Catherwood (background) prepares the new donor fin for installation.
Tailfin 4
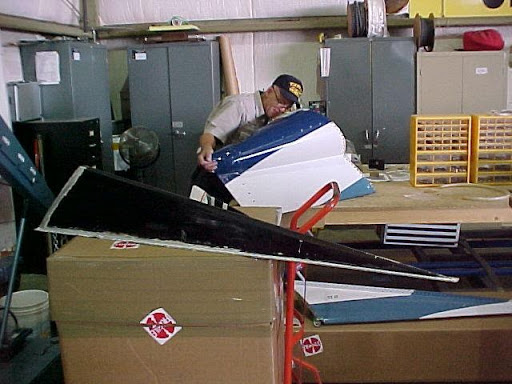
A replacement tail fin section was found from another Learjet 24, the new section required considerable rework to allow its installation.

Tailfin 5
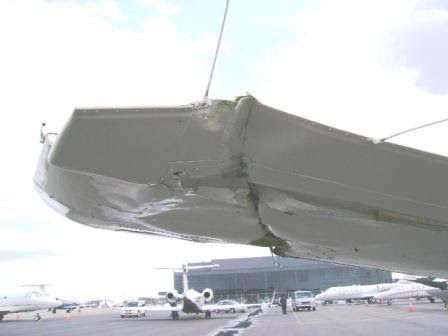
The lower fin was fitted and required 22 inner doublers due to the numerous holes from a previous repair. After paint the fin was good as new.
Nose Wheel Repair
What does experience get you?
This aircraft made an emergency landing at Springfield Beckley Airport. Spectra Jet was called out to work the aircraft by the customer. After removing the aircraft from the runway, it was placed on jacks in the hangar. We found the nose with NO air in the strut, also, the strut had been improperly serviced with too much hydraulic fluid (note the jar of fluid by the jack).
The strut looked “normal” to the pilots during their walk-around because of this extra fluid in the strut. Once they took off and retracted the gear, the lack of nitrogen did not center the nose wheel prior to retraction and the wheel lodged sideways in the wheel- well. When they landed the nose wheel turned ninety degrees to center, causing blowout and ruining the nose wheel assy. Experience gets you an aircraft that is ready to fly safely. The lack of experience that this aircraft received caused its owners several thousand dollars along with the loss of their aircraft for several days.

Nose Wheel 1

Nose Wheel 2
LR 45 Winglet Replacement
We never got the whole story, but this Learjet 45 had an accident with a King Air when the right winglet of the Lear contacted the left wing of the KA200. The aircraft was ferried to SGH for repairs.
LR 45 Winglet 1
The winglet of the Learjet taxied or was towed through the King Air Wing
LR 45 Winglet 2
Damage to the winglet was limited to the upper portion and some buckling under the wing

LR 45 Winglet 3
John Yegerlehner poses with the old winglet after removal, the “wingler” jig was procured through the manufacturer
LR 45 Winglet 4
The LR45 with the winglet removed

LR 45 Winglet 5
Fitting the new leading edge piece and the winglet

LR 45 Winglet 6
Finished jigging the winglet and ready to remove and install nutplates.

LR 45 Winglet 7
Finished jigging the winglet and ready to remove and install nutplates.

LR 45 Winglet 8
Finished jigging the winglet and ready to remove and install nutplates.
LR 45 Winglet 9
John Yegerlehner and Larry Metcalf polish the new leading edge and winglet after paint and assembly.
Learjet 60 Delta Fin Replacement
The right delta fin on a Learjet 60 was damaged in a towing incident. The aft corner just lightly touched “something” and put a crease in the upper and lower surfaces of the fin. The aircraft was ferried to SGH for repairs.

Delta Fin Replacement 1
First, the dimensions of the old fin and the left side are measured for reference during installation of the new fin.

Delta Fin Replacement 2
A jig was built to support the fin at the proper angle.
Delta Fin Replacement 3
Drilling out the rivets holding the fin to the fuselage drag angles.

Delta Fin Replacement 4
The right fin removed and work being started for fitting new fin.
Delta Fin Replacement 5
Don Elliott prepares the new fin for installation and painting by filling low areas on the new fin.
Delta Fin Replacement 6
Only half the drag angle holes are used for the new fin’s installation, every other hole was filled using double-flush riveting.
Delta Fin Replacement 7
Finished, painted and ready to go!

Delta Fin Replacement 8
The new fin after being rigged, drilled and installed using nutplates and screws per a Learjet EO.